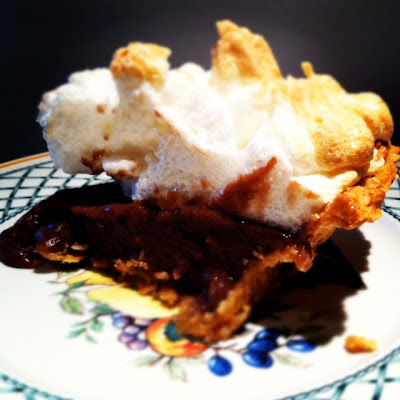
Seasons of Baking: Cherry Berry Pie
As
strange as it may seem, yes there are baking seasons. Fall brings on the
cinnamon and pumpkin. Winter is filled with deep, rich chocolates. And spring
is the time we put down our sugar and raise our cups to Splenda to ready for
our bikinis. But come summer, we’re ready for tart flavors and desserts that
highlight the fresh fruits that are in season.
My
grandpa’s favorite pie, and admittedly one of mine too, is Cherry Berry Pie.

This
isn’t your ordinary cherry pie. Oh no. Its filled with a thick raspberry
reduction and handfuls of tart cherries that make this pie perfectly tart and
sweet. And serving it a la mode is a
must!
Make
this pie for a holiday party or for a summer night and I can promise you there
won’t be any leftovers!
To
make the Pie:
Prepare
pastry for a 2-crust pie; use half to line a deep-dish 9-inch pie plate. It’s
important to use a deep dish pie plate because this pie makes a good bit of
yummy liquid that overfills a traditional pie pan. But, if you don’t have a deep
dish just be sure to hold back some of the liquid, you can jar it and top
vanilla sundaes with it on another day :)
Now
that we have lined our 9-inch pie plate, stick it in the fridge to wait. It’s
time to make the most delectable filling.
First
drain the cherries and set them aside. Now drain the raspberries reserving the
syrup. (Best method to do this is using a catch bowl and a sieve to hold the
berries). Add water to the syrup to make 1 cup in total. *If the raspberries
are not frozen in syrup, add 1- 1 ½ tablespoons of tapioca to ensure the pie
thickens properly.
Now,
combine sugar, cornstarch, salt, & syrup in a pot and cook over low heat
until thick and clear. You’ll know its ready when you dip a wooden spoon into
the mixture, run your finger down the back, and if the mixture holds the part
it’s ready for the next step!
Stir
in the cherries and raspberries. Turn off the heat and set the mixture aside to
cool.
*IMPORTANT: if you do not allow the hot syrup to cool before placing in your pie crust it will make your crust soggy and we do NOT like soggy crusts!
*IMPORTANT: if you do not allow the hot syrup to cool before placing in your pie crust it will make your crust soggy and we do NOT like soggy crusts!
While
you’re waiting for the pie to cool, this is a great time to ready your top
crust. I love making unique pie tops, and I try to change them up every time I bake
a pie, I’ll be sure to write a follow up post on how to create different pie
topping designs. For this pie you’ll find the lattice top is the most
appropriate.
Once
cooled, pour the mixture into your pie crust. Brush an egg wash (1 egg & 1
tablespoon water) over the top of the pie and sprinkle with sugar. Bake in a
425 F oven for thirty minutes. I cover the pie edges with foil for the first 20
minutes – so they won’t get too dark.
Let
the pie cool completely and serve with a scoop of vanilla ice cream.
(Recipe on following post)

Comments
Post a Comment